User guide
Creating an alarm rule
To create a new alarm rule:
Click the Create button at the top of the table. The Create Rule dialog displays the Alarm Type step.
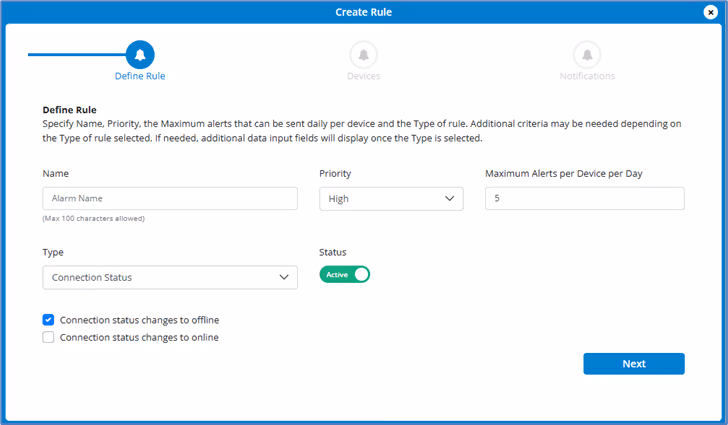
2. Enter a Name for the alarm rule.
3. Select a Priority level from the drop down.
4. Use the dropdown to select the Maximum Alerts per Device per Day you want allowed.
5. Select the Type of alarmfrom the dropdown (Connection Status, Device Data Usage, Carrier Data Usage, SIM Data Usage, WAN Data Usage, Measurements, Geofence, VPN Tunnel Status, Cellular Failover, WAN Failover).
6. The Status slider allows you to make the rule inactive when desired.
7. Make the desired choices for the alarm type you selected.
NOTE: For Geofence alarms, hover over the information icon  for tips.
8. Click Next. The Devices step displays.
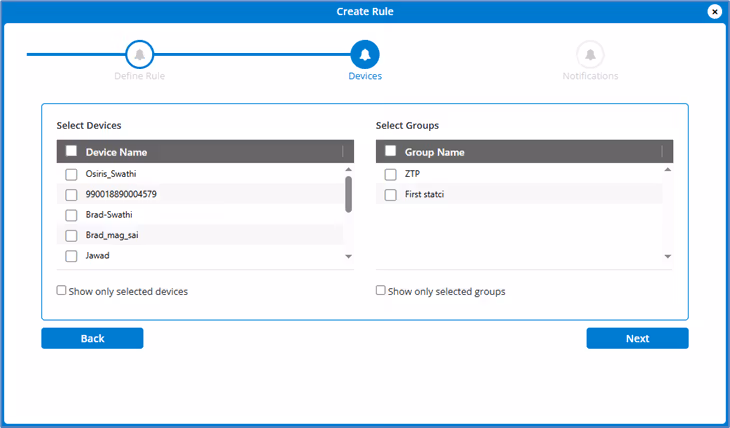
9. Use the checkboxes in the Select Devices list to select devices for the alarm rule or use the checkbox at the top to select all devices in the list. After making your selections, you can check the Show only selected devices box, if desired.
10. Use the checkboxes in the Select Groups list to select groups for the alarm rule or use the checkbox at the top to select all device groups in the list. After making your selections, you can check the Show only selected groups box, if desired.
11. Click Next. The Notifications step displays.

12. Use the checkboxes in the Select User list to select which users you want to receive alarms for this rule or use the checkbox at the top to select all users in the list. After making your selections, you can check the Show only selected users box, if desired.
13. Enter email addresses for any additional users you want to receive alarms for this rule.
14. To add a webhook, either click Add to create a new webhook,or select a name from the dropdown.
15. Click Finish. The alarm rule appears in the list.
When the alarm parameters are met, the following actions occur:
- The alarm appears in the Alarms List and remains there for 90 days, or until it is dismissed.
- Users and email addresses selected in the Notify step receive an email with alarm details.
NOTE: To edit an alarm rule, click on rule name Rules list.


