Quick start guide
- Product documentation
- FWA solution bundle
- Quick start guide
Changing your primary network name (SSID) and Wi-Fi password
To change the Wi-Fi primary network name (SSID) and password for your indoor router, create a new template from the Templates page and apply the template to the indoor router.
Creating a new template
1. From the device dashboard for your indoor router, select the Templates tab, or select Templates from the side menu.
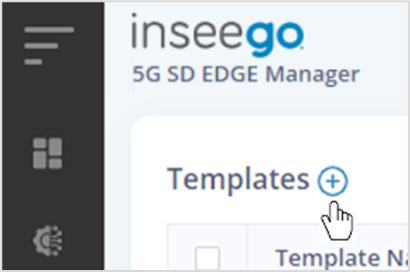
2. On the Templates page, click on the plus sign  next to Templates to add a new template.
The New Template dialog appears:
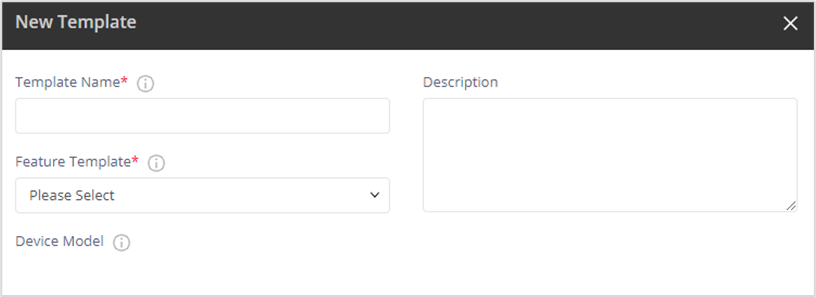
3. Enter a name for the template and select WiFi Configuration from the Feature Template drop-down list.
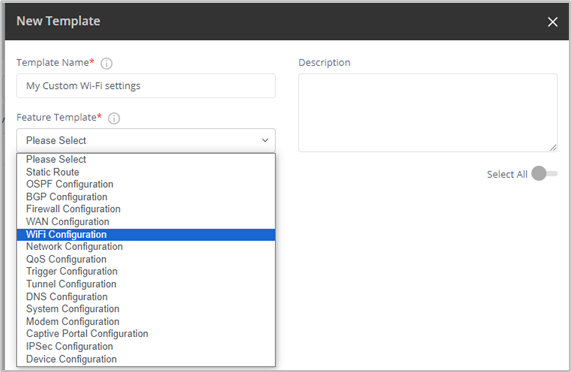
More choices appear:
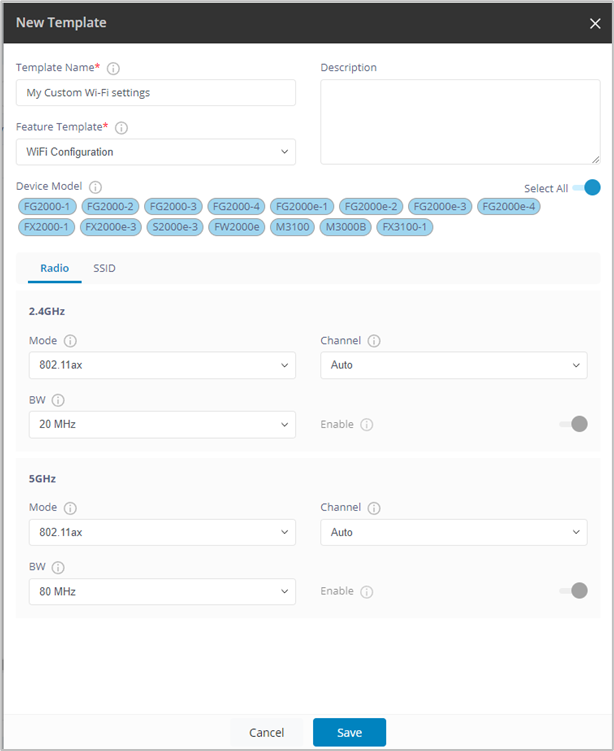
4. Select the SSID tab and click the plus sign  next to Settings.
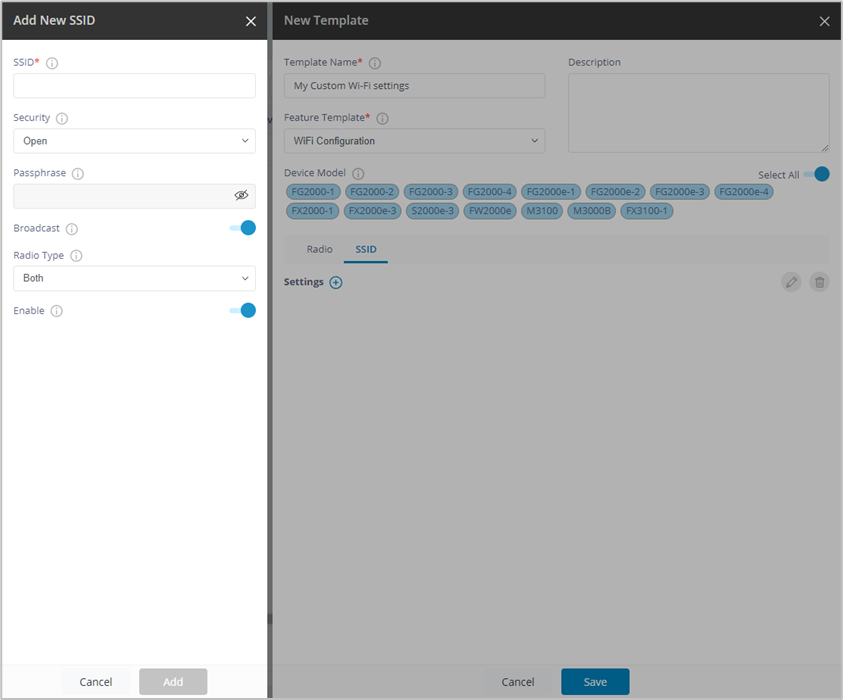
5. Enter the following:
- SSID: Enter a name for your Wi-Fi primary network. The name can be up to 32 characters long.
NOTE: Only one SSID per Wi-Fi band is currently supported on FX-series routers. - Security: Use the drop-down to select one of the following options for Wi-Fi security:
WPA3/WPA2 Transition is the most secure method of Wi-Fi Protected Access and should be used, if possible, for WPA2 and WPA3 compliant devices.
WPA/WPA2 Mixed Mode can be used if some of your older devices do not support WPA2.
WPA2 AES PSK can be used for WPA2 devices.
Open allows others to monitor your Wi-Fi traffic and use your data plan to access the internet. NOTE: Avoid using this option.. - Passphrase: Enter a passphrase for your Wi-Fi primary network
6. Click Add, then click Save. A pop-up appears when the template is successfully created.
Applying the template to the indoor router
NOTE: You can only apply templates to devices that are online and do not have ongoing operations.
1. Click the⋮ icon to the right of the template name and select Apply Template. The Apply Template dialog appears.
2. Click on the plus sign next to Devices to select the device to which you want to apply the template.
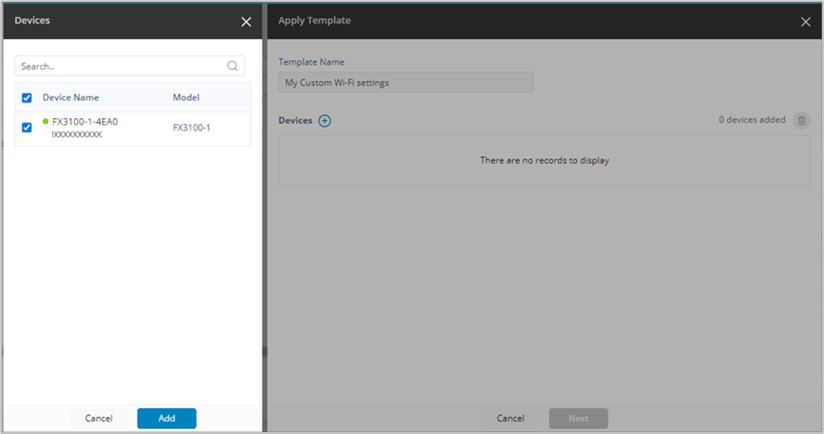
3. Click Add. The selected device displays with device name, MAC address, firmware, model, and device status. NOTE: Make sure the SSID is mapped to the correct LAN. It defaults to the first available LAN.
4. Click Next to apply the template to the selected device. A pop-up appears:
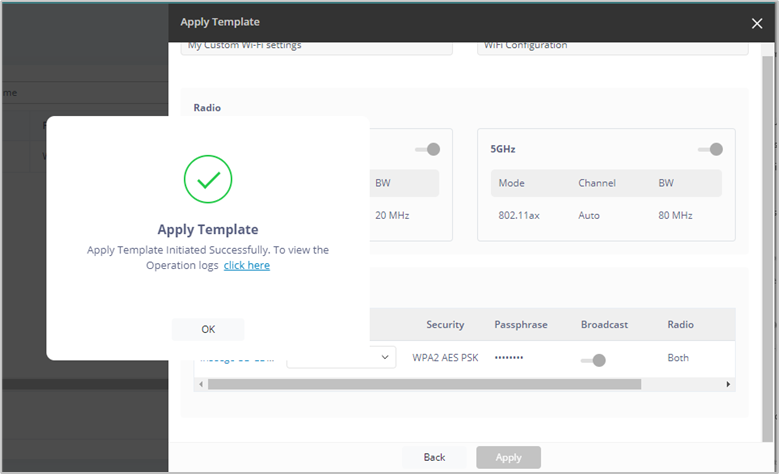
5. Select click here or click OK and navigate to the Operations page to verify that the operation to apply the template completes successfully. This should take no more than 5-10 minutes with a strong signal but depends on your internet connection quality.
